How to disassemble & rebuild a desktop PC
Whether you’re taking apart your computer to scrap it, install new components, clean it, or just to see how it works, our guide shows you how to take it all apart, then put it back together.
Computer disassembly
Our guide covers the most common ways computers are put together, but computers and manufacturers can vary. If you can’t access a particular component when it’s listed in the guide, skip to the instructions to remove the other parts until you can reach the original component.
Generally, the process is to unplug all the cords and cables connecting a component to other components, then remove the part from the case or frame. Components can be attached to the case with special clips, screws, or by insertion into a holder. In each case, no more than a small amount of force is needed to remove the part. If it’s not moving, check for more attachments that are holding the component in place.
You will need a small Phillips-head screwdriver and depending on the manufacturer of your components, possibly a flathead screwdriver. The metal inside the computer case can be sharp, so you might want gloves, as well.
If you are rebuilding the computer, be sure to document what area you removed components from, the order you removed them, and what cables attach to each part. You can take pictures before each removal or write it down. Keep careful track of the screws, as well. Keep the screws with their relevant component by screwing them back in the holes either on the component or on the frame or by taping them to the correct location.
Step 1 – Unplug your computer and peripheral items
Turn off the computer, unplug the power cord and unplug any peripheral items attached to the computer, such as the keyboard, mouse, monitor, headphones, and any external drives.
Wear a grounding strap or touch an unpainted metal part of the computer to discharge any static electricity. If you walk across a carpet at any point, touch an unpainted metal part of the computer again to discharge the built up static electricity.
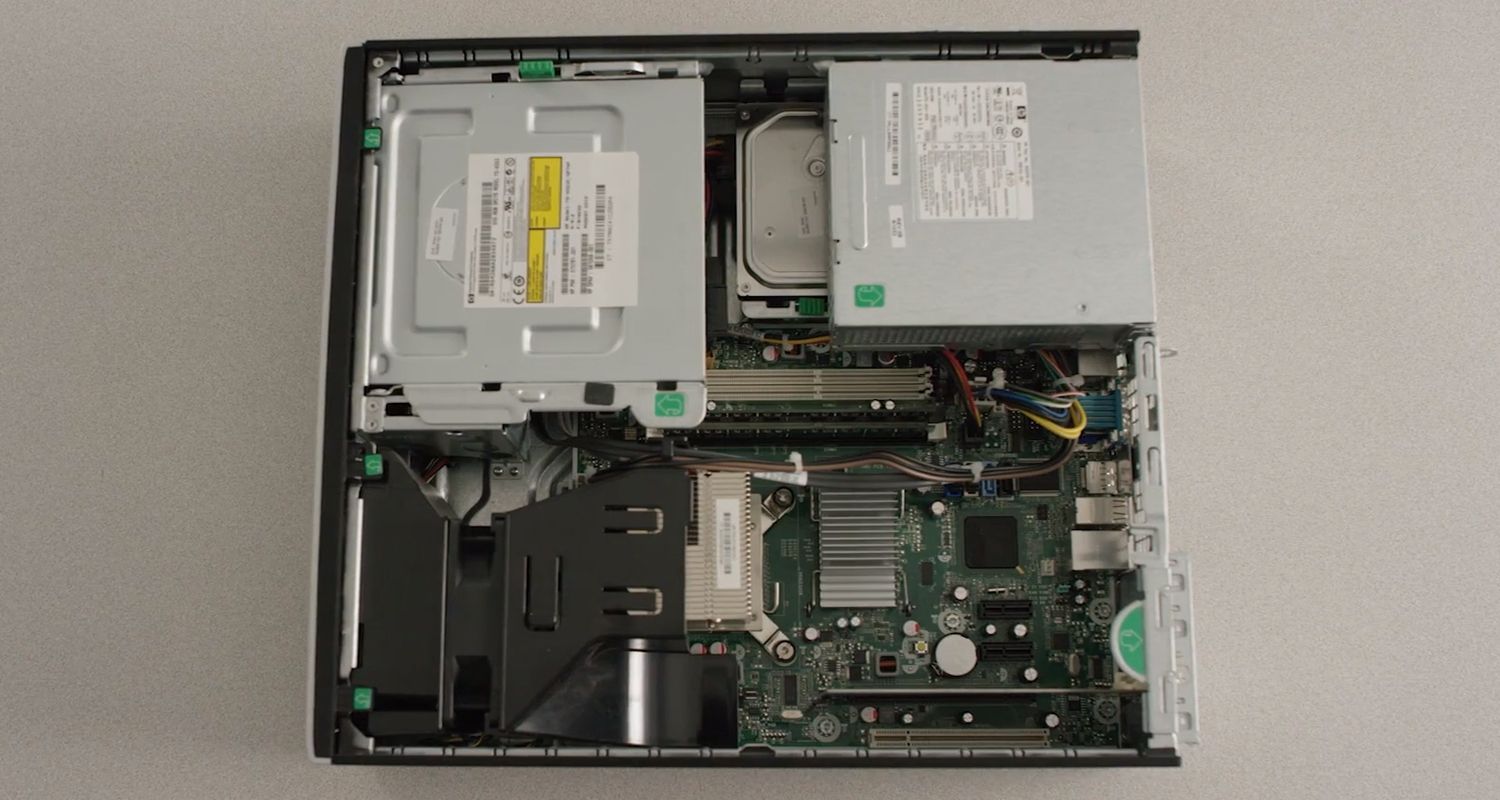
Step 2 – Remove side covers
Remove at least one of the side covers, usually the right side as you face the front of the computer. You might find it easier to access all the parts if you remove both side covers; there are sometimes thumb screws on the covers to make access easier.
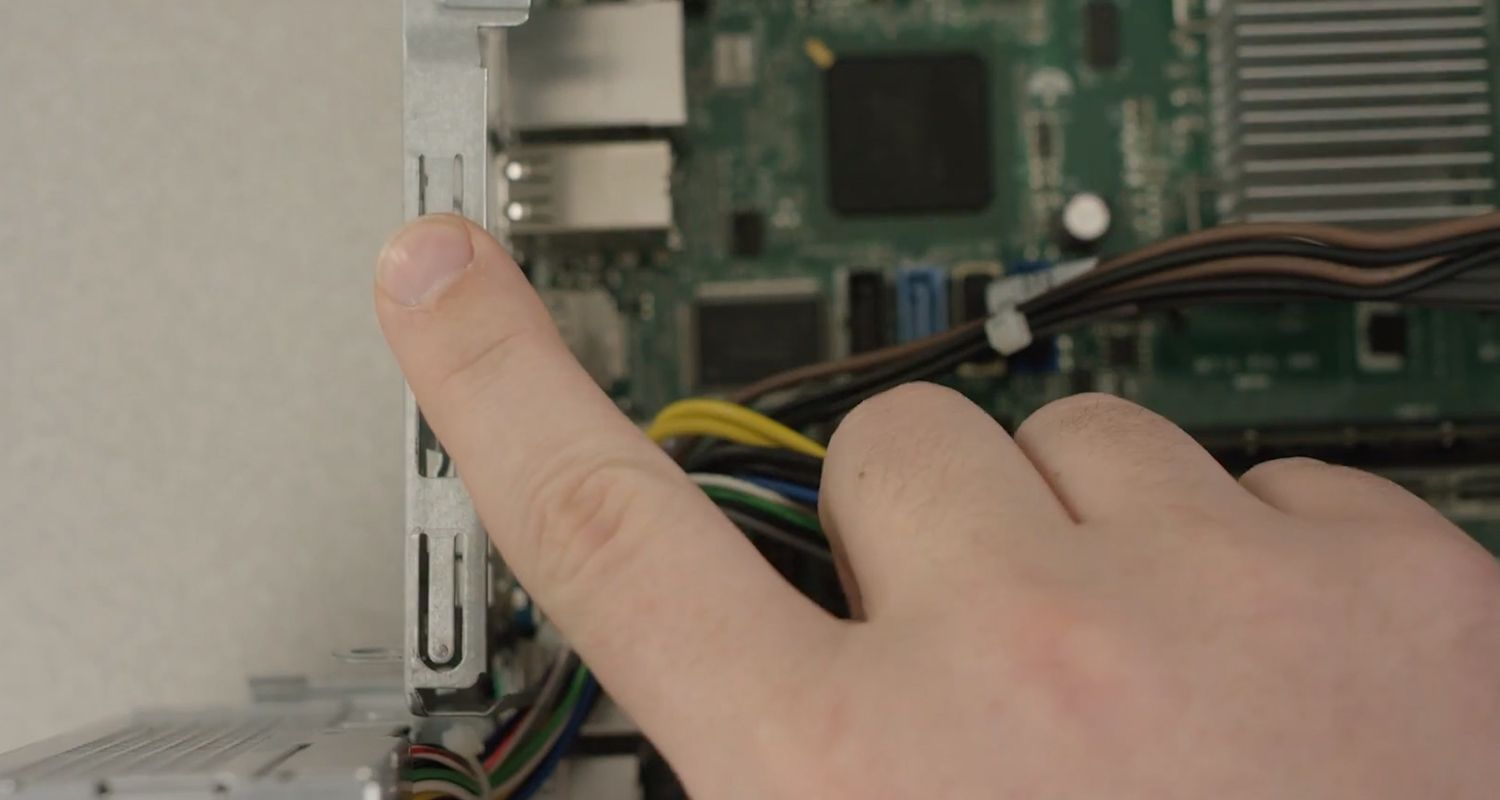
Step 3 – Disconnect connectors
Disconnect all the connectors, then remove any card readers and internal DVD players. These are usually screwed into place.
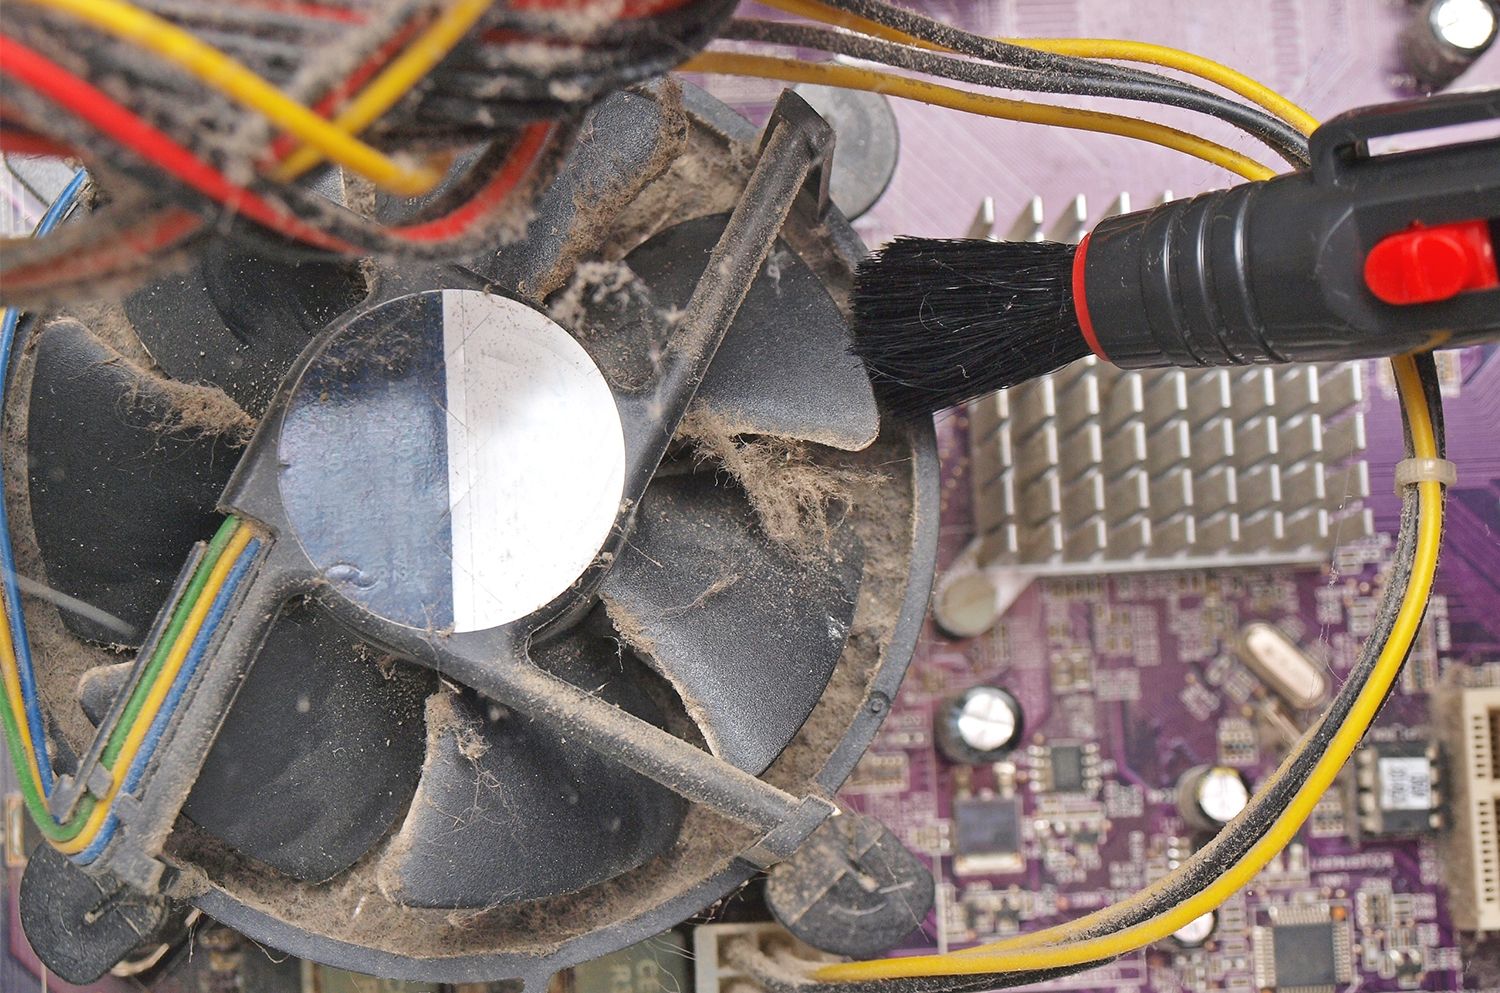
Step 4 – Remove standalone fans
Remove any standalone fans. This is a good time to remove any dust, lint, and pet hair from the fans if you’re planning on reusing them.
Step 5 – Remove the storage drive
Disconnect the cables and remove the storage drive. Generally, storage drives are held in place by multiple screws. If you have a hard drive, be gentle when moving the drive as hard bumps can damage the internal parts.
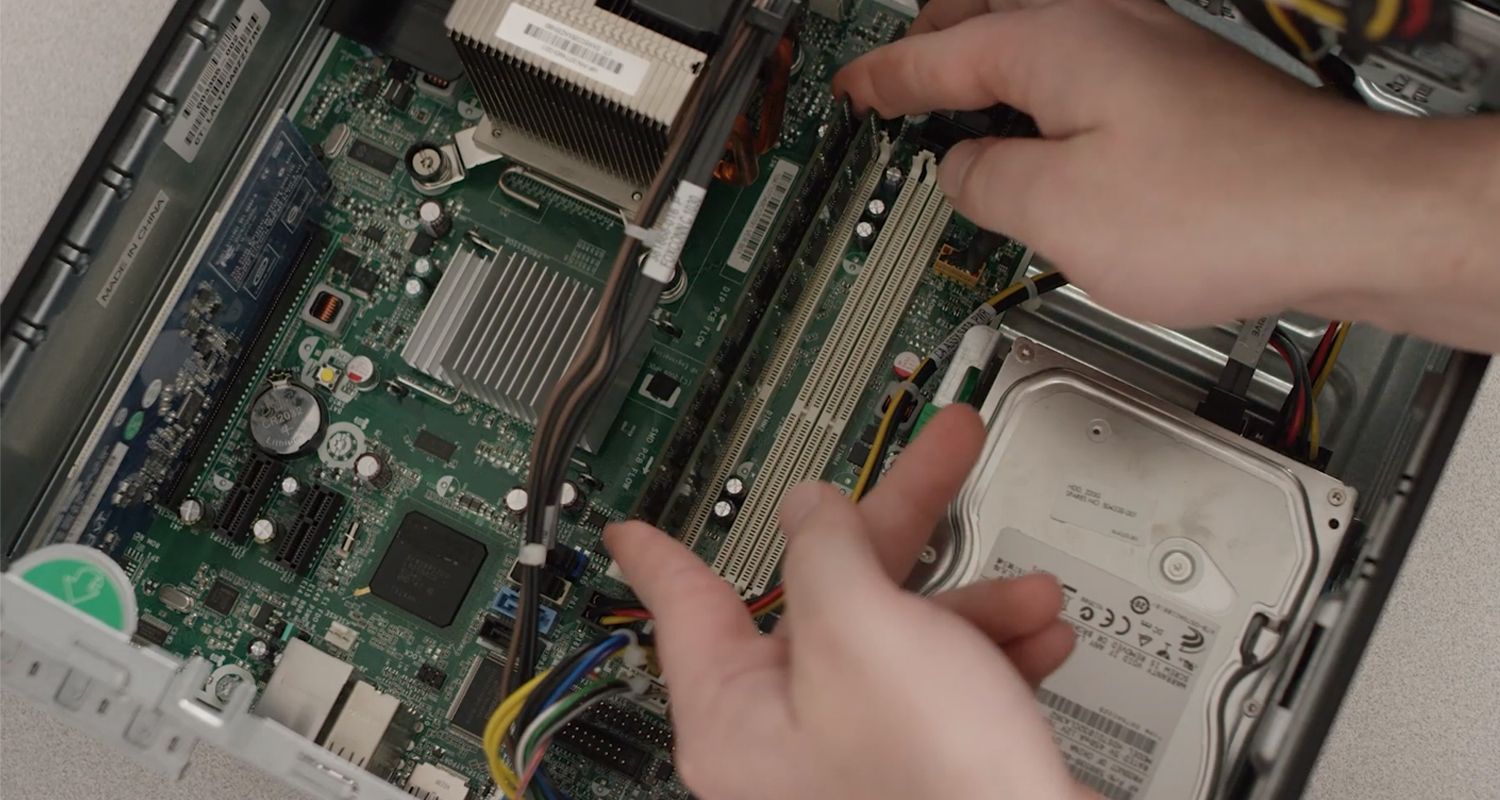
Step 6 – Remove memory (RAM) modules
Remove the memory (RAM) modules by pushing the clips on both ends of the module down. This will cause the module to pop up for easy removal. Do not touch the gold connectors on the chips if you’re reusing the modules. If you're not reusing the RAM, find out how it can be used in other applications.
Step 7 – Remove power supply unit
Remove the power supply unit by unplugging the remaining connectors, then unscrewing the unit from the frame.
Step 8 – Remove motherboard adapter or expansion cards
Remove any adapter or expansion cards from the motherboard. Although these cards usually slide into preconfigured slots, there can be screws. Do not touch the gold connectors on the cards if you’re reinstalling the cards.
Step 9 – Remove the motherboard
Disconnect all the cables from the motherboard, then unscrew it from the frame by loosening each screw a little bit before going around again to loosen each screw properly. This prevents any potential warping of the motherboard by gradually releasing the tension on it.
All the components should now be out of the computer case. If you’re reusing the case, this is a good time to get rid of all the dust and lint that might have collected.
Computer reassembly
If you are rebuilding the computer, insert the components in the opposite order you removed them, starting with the motherboard. Plug in all the cables as you insert the component; most items will plug into the motherboard and the power supply unit.
Congratulations, you’ve disassembled, and possibly reassembled your computer!